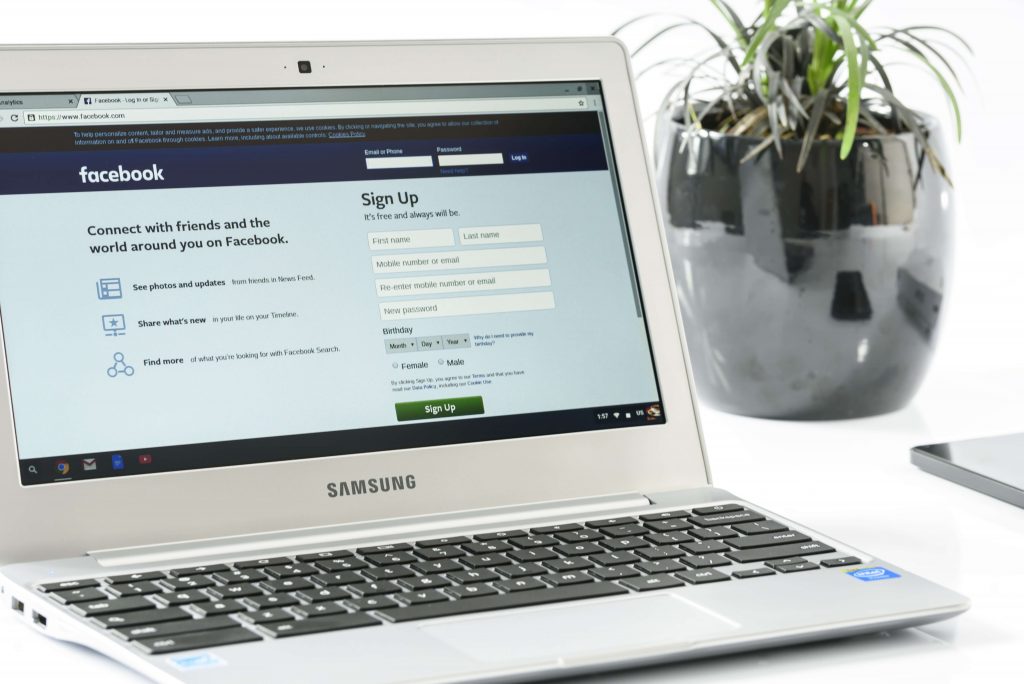
What is a Facebook pixel code?
It’s a little bit of code that sits on your website and it collects bits of information about visitors on your site. It will let you know who’s been on your website, what page have been on… In addition, you can even do more advanced things like what actions we’ve taken on your site.
Then, if a visitor has a Facebook, when they hop onto his Facebook page, you can start showing ads that are super tailored to them, and you can make them really tailor because you know that they’ve got interesting your website they’ve been on it and you even know what pages they’ve been on. It’s a really powerful tool and it just collects all that information on the backgrounds.
How to create a Facebook pixel for your website
To add a Facebook pixel onto your website, you have to create it. To do it, go to www.facebook.com/ads/manager, this is the Facebook Ads account. Click on settings, then click on “pixels” and “create a Facebook pixel”. You can give it a name here if you want and “create” it.
How to add the Facebook pixel to your website
The pixel has now been created and you’re going to need to install it on your website. You’re going to manually install that. If you have a developer you can also email the instructions to them and they should know exactly what to do. So, if you click “manually install the code yourself”, you will see “locate the header code for your website”. Copy and paste the entire pixel code into the website header. If you click on it, it’s going to copy it and then you’re going to paste it to your site.
To paste the Facebook pixel code into your website, you have to add a “plugins” called “Insert Headers And Footers”. To do it, click “add new” on your “plugins” tab. Then, you’re going to type in “insert header”. You’re going to see this plugin “Insert Headers And Footers”, because you need to install the actual code into our header of our entire website. Go ahead and click and install that. Once that’s installed, click “activate”, and then you’re going locate the insert header and go and find it in the setting “Insert Headers And Footers”. Paste your Facebook pixel code into “scripts in Header” and click “save”. That’s actually gonna be placed on every single page on your website.
Example of Facebook adverts you can create using the pixel for your cleaning business
You have created and added your Facebook pixel to your website. You can now customise your events’ name. So, the Facebook pixels are retargeting adverts. I will give you some example that you can use for your cleaning business.
There are some categories of standard events.
- Viewcontent: when one of your page, it can be the key page, is view.
If someone go on the home page your website.
- Search: when a search is made on your website.
If someone searches a product in the searching bar.
- AddToCart: when one of your products is added to the basket shopping.
If someone adds a “carpet rake” in the basket shopping.
- AddToWishlist: when one of your products is added to a wishlist (if you have a “wishlist” button.
If someone adds a “carpet rake” in his wishlist.
- InitiateCheckout: when a person enters the checkout flow without completing the checkout.
- AddPaymentInfo: when payment information is added in the checkout flow, to the billing info button.
- Purchase: when a purchase is made.
- Lead: when a sign up is completed.
- CompleteRegistration: when a registration form is completed.